Next.js 프로젝트 설정하기(with TS, ESLint, Prettier, Tailwind css)
1. Next.js 설치 + TS, ESLint
참고 사이트
Get Started
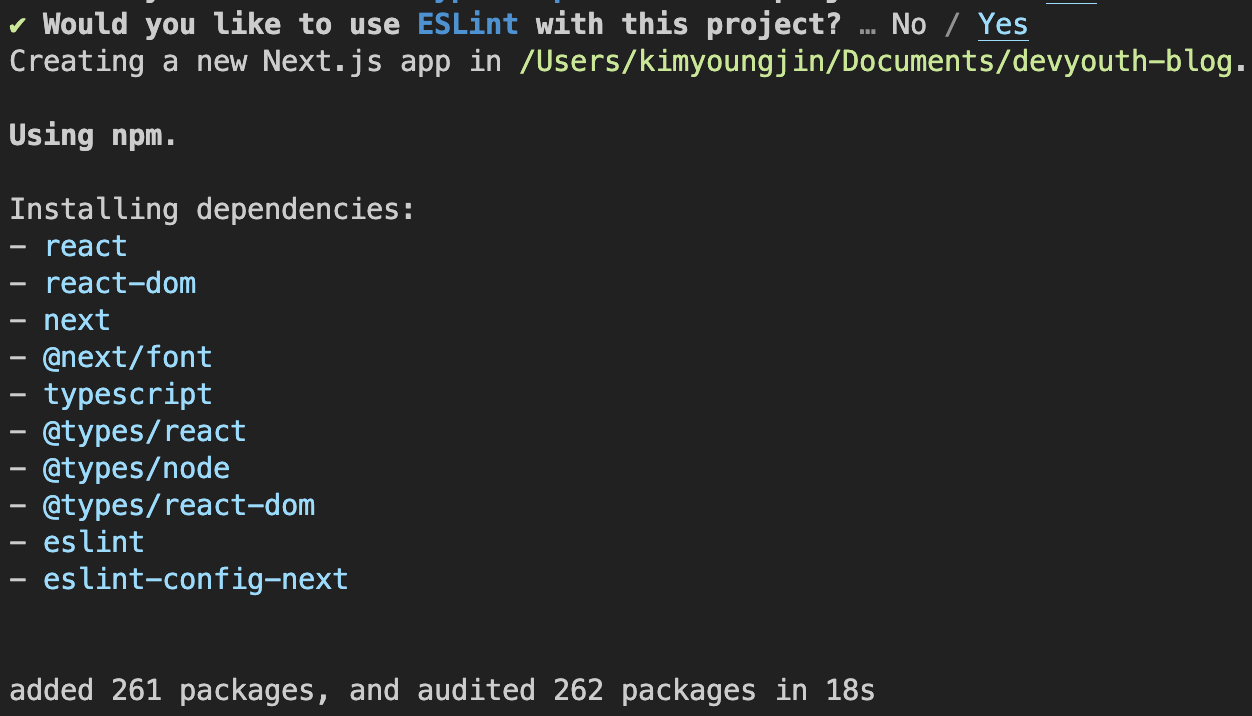
npx create-next-app .
- create-next-app 을 사용하여 next.js를 설치한다. 참고로 경로를
.으로 설정하면 현재 디렉토리 내부에 설치하게 된다. - 친절하게 프로젝트에 타입스크립트를 사용할거냐고 물어봐준다. 타입스크립트를 사용할 예정이므로 Yes에 두고
enter키를 누르면 된다. 필요한 패키지들을 알아서 설치해준다.
- ESLint를 사용할거냐고도 물어보니 필요하다면 꼭 Yes를 선택해주자.
2. ESLint 설정하기
참고사이트
Getting Started with ESLint - ESLint - Pluggable JavaScript Linter
Basic Features: ESLint | Next.js
Get Started
npx eslint --init
- Next 설치시
eslint초기 설정은 아래와 같다. 위의 명령어를 사용하면 더 자세한 초기 설정을 간편하게 할수 있다.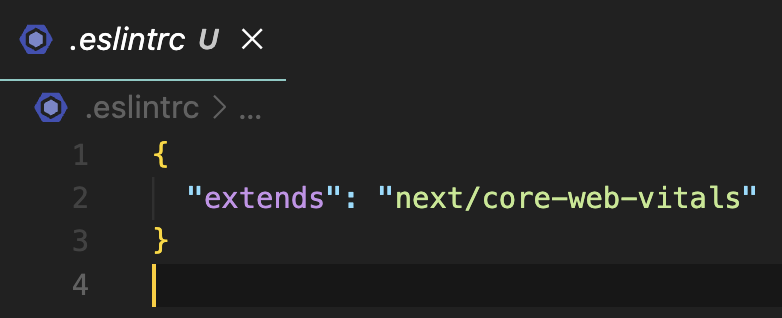
- 명령어 사용시
CNA를 사용했을때 처럼 각자의 프로젝트에 맞춰서 선택할수 있는 선택지가 주어진다.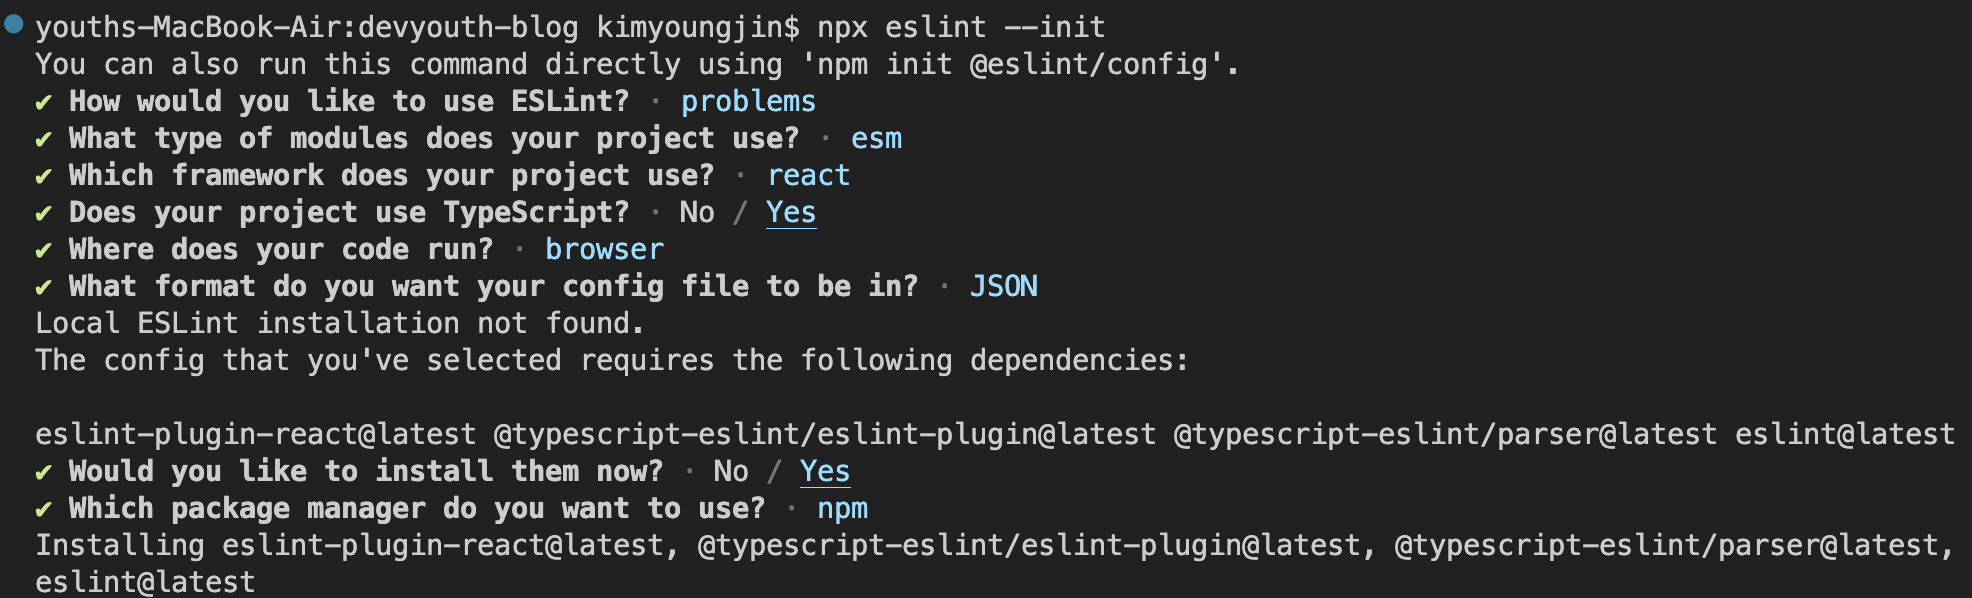
- 설정이 잘 완료되었다. 추가로 env에
"node": true를 추가해준다. 추가해주지 않으면 이후에CommonJS모듈을 사용할수 없다.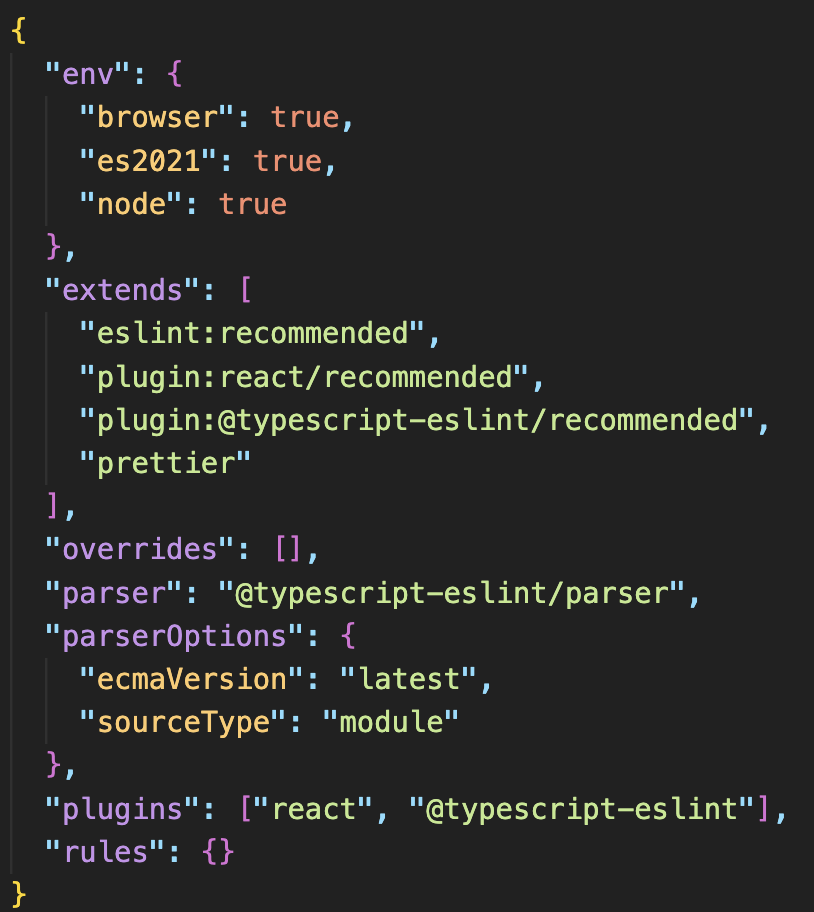
3. Prettier 설치 및 설정하기
참고사이트
Basic Features: ESLint | Next.js
Get Started
npm install -D prettier eslint-config-prettier
-
prettier를 설치하고eslint와 같이 사용할시 충돌이 발생할 수 있으므로eslint-config-prettier를 함께 설치해준다. -
루트 디렉토리에
.prettierrc파일을 생성하고 취향에 맞게prettier설정을 하자.//.prettierrc { "printWidth": 100, //한줄에 코드 100줄이 넘지 않도록 함. "singleQuote": true, //문자열 사용시 ''사용. "trailingComma": "all", //맨 뒤에 있는 것도 쉼표를 추가함. "tabWidth": 2, //들여쓰기 크기를 2칸으로 함. "bracketSameLine": true // 태그를 같은 줄에 넣음. } -
.eslintrc파일extends에prettier를 추가해준다.{ "extends": [ "eslint:recommended", "plugin:react/recommended", "plugin:@typescript-eslint/recommended", "prettier" <- 추가 ], }
4. Tailwind css 설치
참고 사이트
Install Tailwind CSS with Next.js - Tailwind CSS
Get Started
npm install -D tailwindcss postcss autoprefixer
-
tailwindcsspostcssautoprefixer를 설치한다. -
tailwind의
config파일을 명령어를 통해 생성해준다.npx tailwindcss init -p -
config파일에content부분에path를 설정해준다./** @type {import('tailwindcss').Config} */ module.exports = { content: [ './pages/**/*.{js,ts,jsx,tsx}', <- 추가 './components/**/*.{js,ts,jsx,tsx}' <- 추가 ], theme: { extend: {}, }, plugins: [], }; -
global.css에 아래 코드를 추가한다.//global.css @tailwind base; @tailwind components; @tailwind utilities; -
테스트 해보자!
export default function Home() {
  return <h1 className="text-3xl font-bold underline">Hello world!</h1>;
}
잘 작동한다.
5. 그 외에 더 할게 있나요?
-
절대경로 설정을 추가해준다. import/export 시에 경로를 깔끔하게 작성할 수 있다.
//tsconfig.json

{
  "compilerOptions": {
		"baseUrl": ".", <- 추가
    //...기존의 옵션들
  },
  "include": ["next-env.d.ts", "**/*.ts", "**/*.tsx"],
  "exclude": ["node_modules"]
}
//before import { foo } from '../../components/bar'; //after import { foo } fom 'components/bar'; -
eslint config에 아래rules는 기본적으로 추가해주는걸 추천한다.//.eslintrc { "rules": { "react/react-in-jsx-scope": "off", //jsx파일에서 React를 import 하지 않아도 됨. "no-unused-vars": "off", //타입스크립트 사용시 interface의 변수명을 eslint가 잡지 않도록 함. "@typescript-eslint/no-unused-vars": "warn" //대신 사용하지 않는 변수는 @typescript/eslint를 통해 잡아줌. } } -
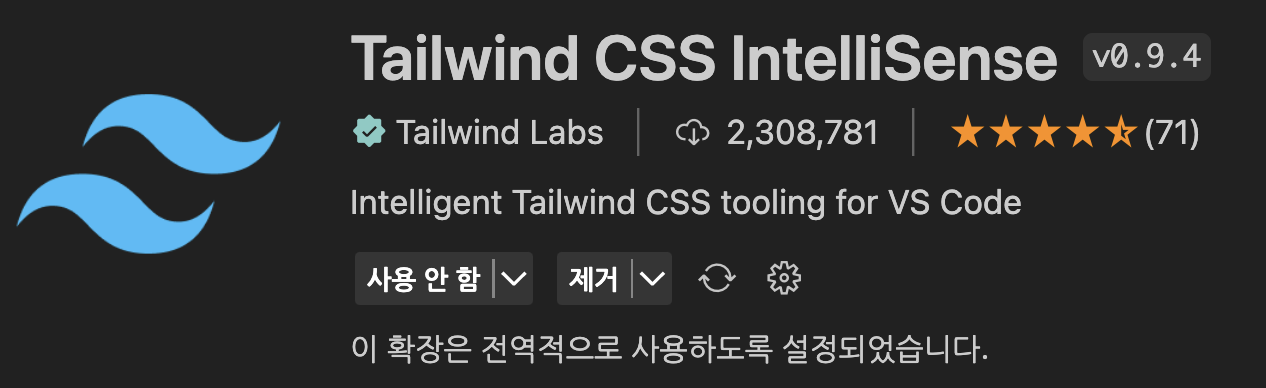
tailwind 관련 확장을 설치해주자. 자동완성을 사용할수 있다.
-
필요없는 boilerplate는 삭제해준다.